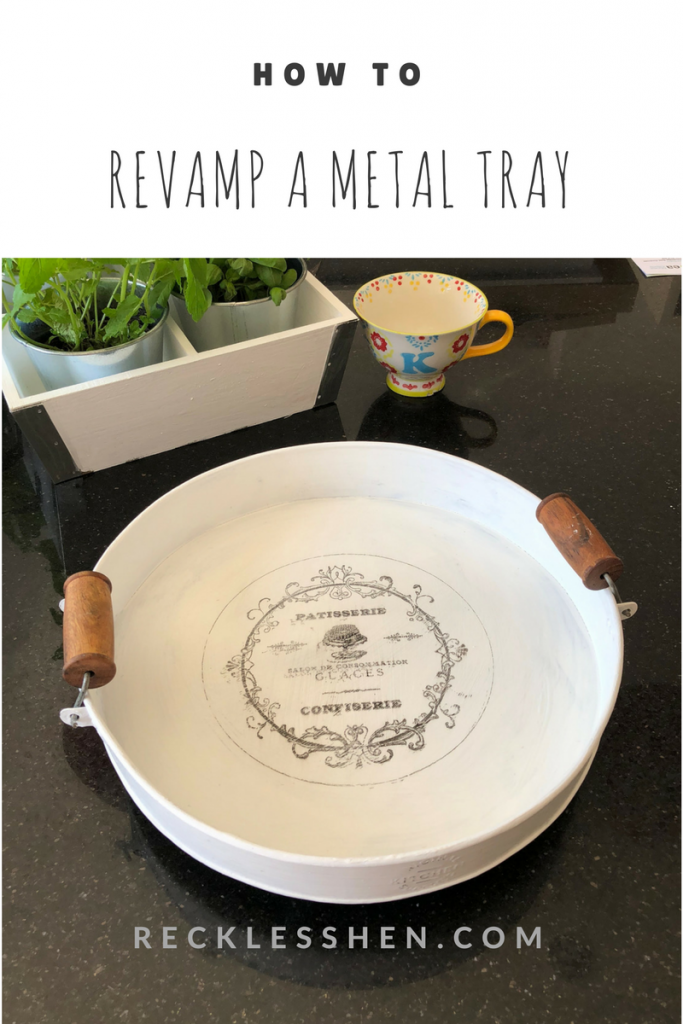
I’ve been busy doing some revamping/upcycling this week. I have a metal tray that I really like but wanted to jazz it up a bit. After digging around in my craft stash I found my Annie Sloan chalk paint and some wax paper and knew that I could definitely use those to revamp the tray. I remembered seeing a video a while back about adding typography to wooden items using wax paper and thought I could probably do the same thing with metal so I googled around a bit and found the video again. It is on the Unexpected Elegance blog and you can see it here.
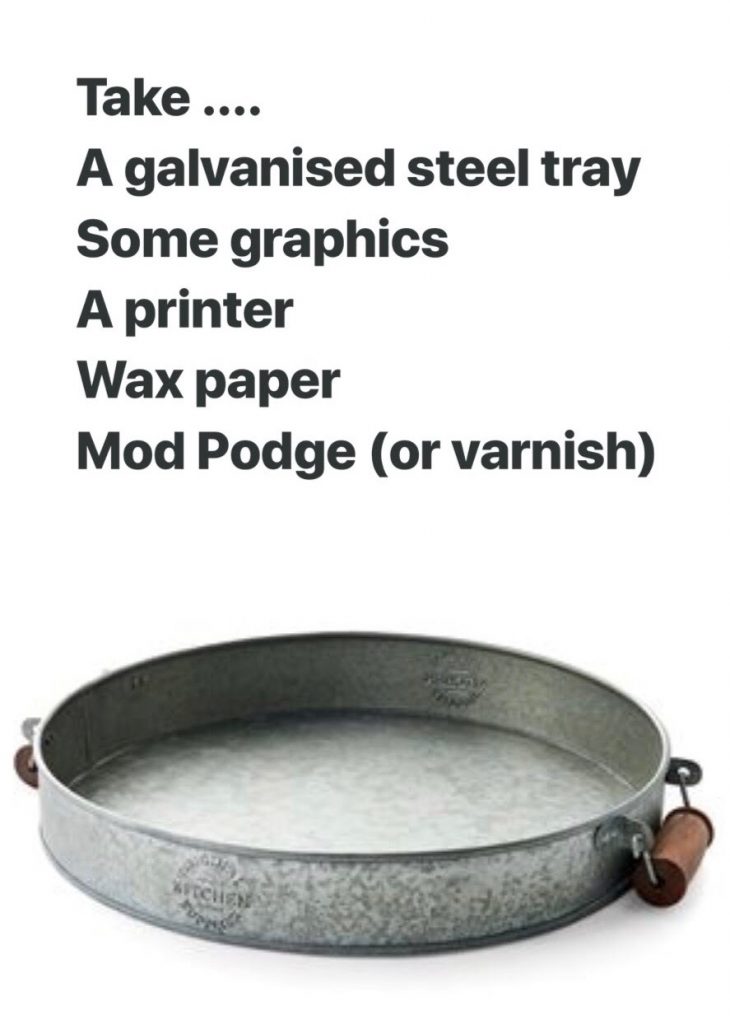
Below is a list of what I used and how my tray looked before the revamp.
I found the graphics I used on The Graphics Fairy, which is a great place to find vintage themed images.
Next I opened the image in Photoshop and flipped it horizontally so that it would print back to front. This means that it will be the right way round once it is transferred onto the tray.
I cut my wax paper to A4 size so it would through my printer and then I printed my image on to the wax side of the wax paper. Make sure to leave it for a few minutes for the ink to dry before you touch it so that you avoid smudges.
This was my printed image.
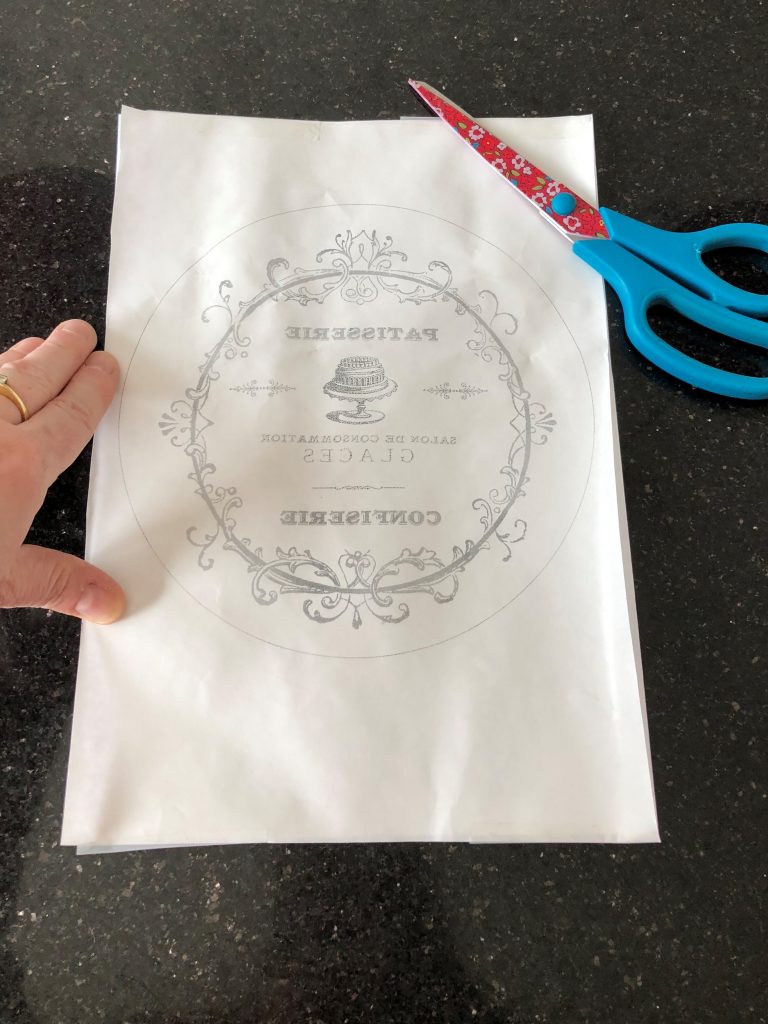
I then cut round my image leaving a bit of extra space all round.
Then comes the most important part.
Place your image printed side down onto the tray and hold firmly in place with a bit of tape – you do not want it to move at all!
Using a firm edge such as a small ruler or a credit card or something similar rub firmly all over the image. This is what will transfer it on to the surface of the tray. Go over the image a few times to make sure you haven’t missed any bits and then carefully remove the wax paper. You should now have your image right way round on the tray.
I added a couple of coats of Modge Podge to seal it but you could use varnish instead. Hey Presto you have a revamped tray.
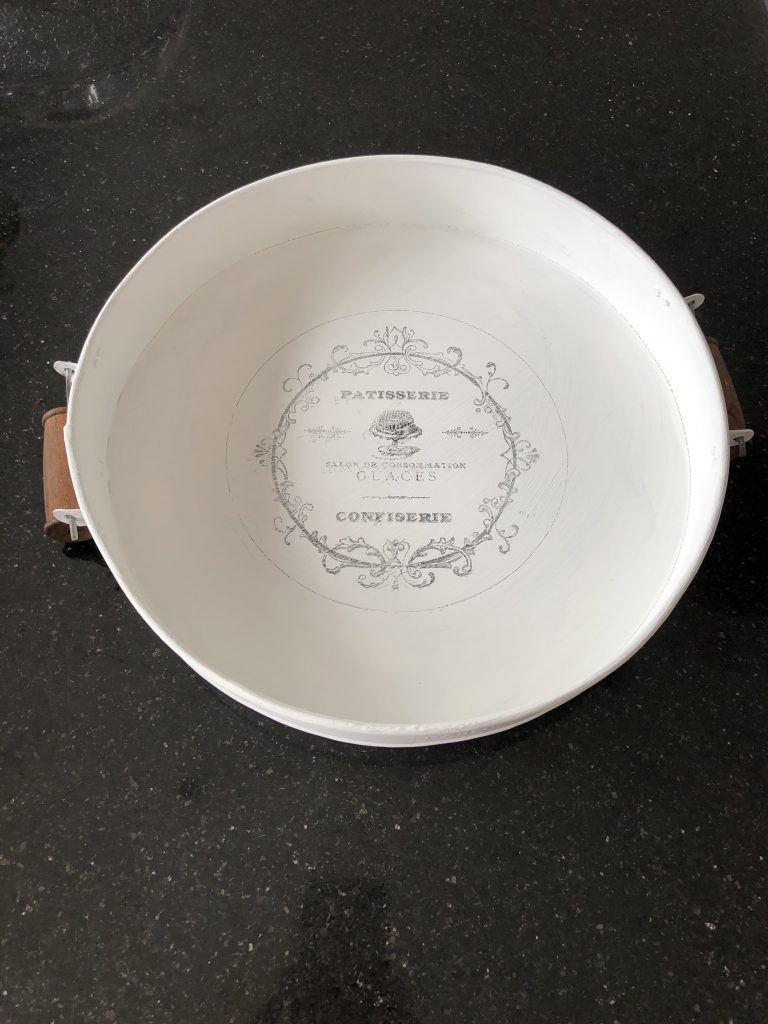
I absolutely LOVE my tray now and can’t wait to try this fab technique on lots of other bits and bobs I have in the house waiting for a facelift.
One little tip……….don’t do what I did the first time I read about this technique some years ago and assume wax paper is the same as greaseproof paper or baking parchment. Wax paper is also called freezer paper and one side has a coating of thin wax on it, which is what transfers the image.
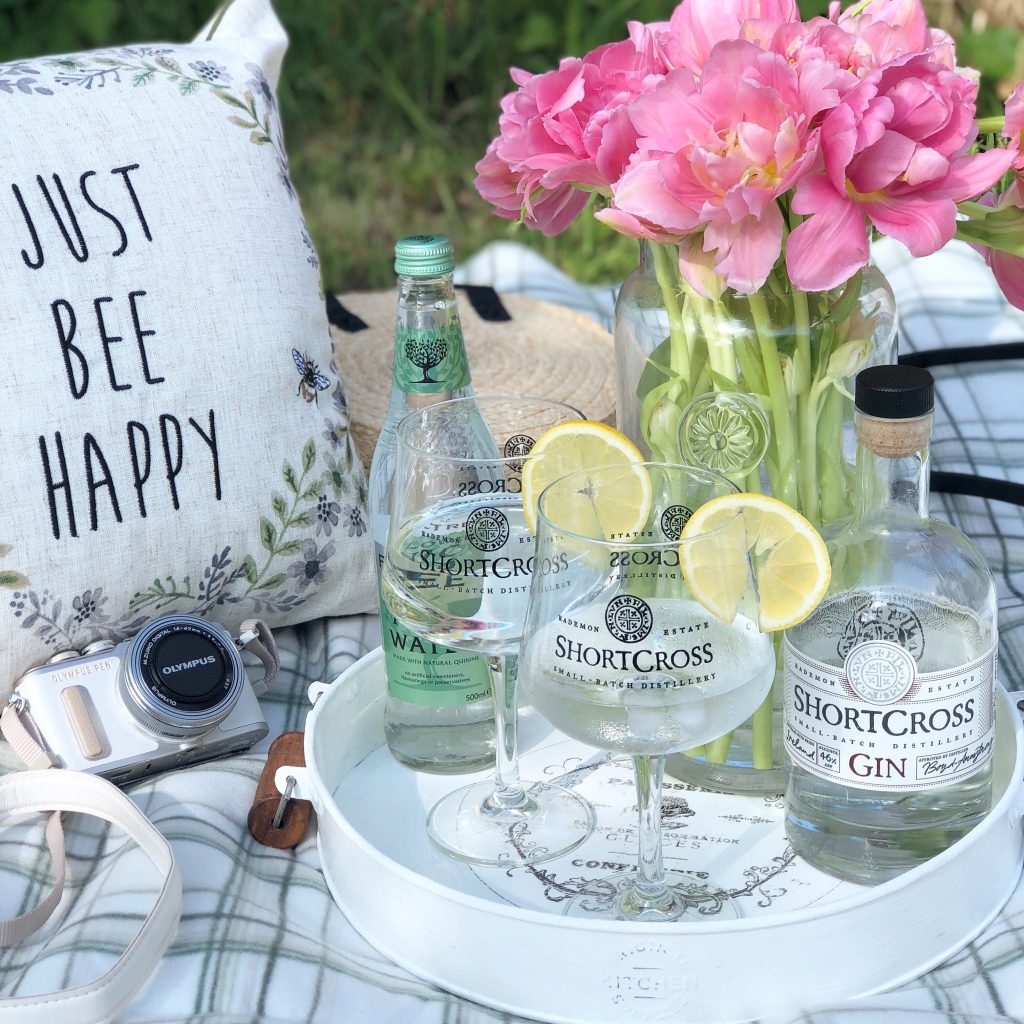
We have been having lots of sunny weather here in Northern Ireland so my new tray has been put to good use already.
Have you used this technique for transferring images or text to revamp pieces in your home?
I’d love to hear about it.
Don’t forget to Pin!
Happy May Bank Holday 🙂

Definitely going to try this!
Such a quick and easy technique, the possibilities are endless x