
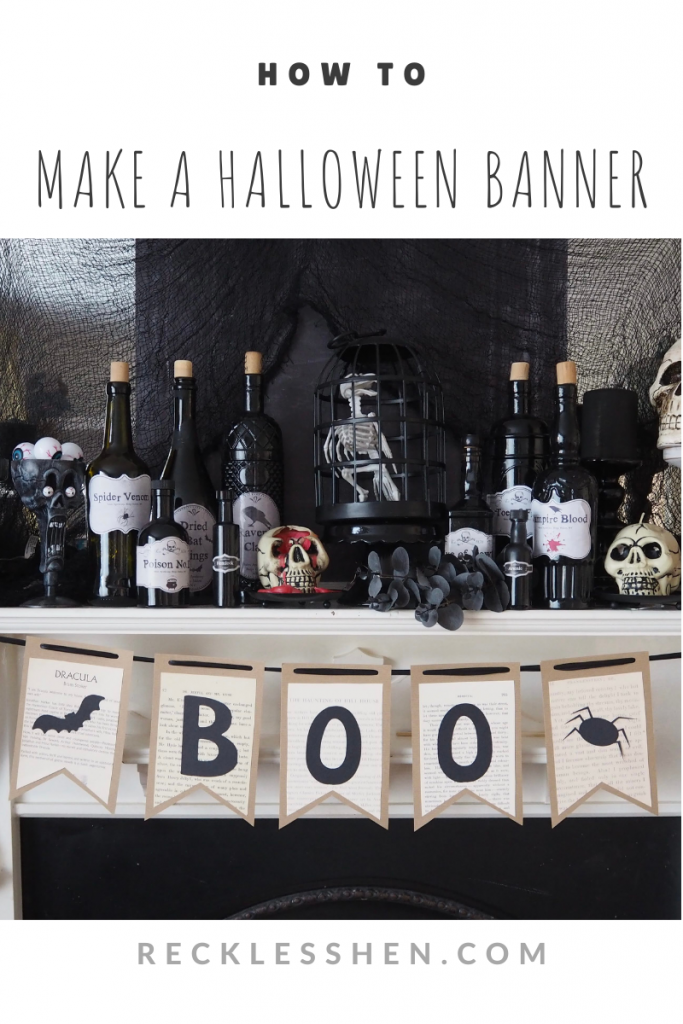
Want to make a quick and easy Halloween banner?
Check out this Halloween banner tutorial for a quick way to jazz up your Halloween decor.
This is the perfect last minute decorating idea. You probably have all the things you need in the house already for this simple Halloween banner. No complicated supplies needed!
You will need:
- card
- decorative paper
- cut out shapes & letters
- ribbon
- hole punch
- glue or tape
I used some kraft card I had in the house and printed out some decorative paper (I used pages from classic horror movies) but you could use scrapbooking paper, wrapping paper or even wallpaper. The Halloween shapes and the word Boo are cut from black card on my Silhouette Cameo but you could just as easily cut them by hand with scissors.
Step by Step:
- Decide how many pieces you will need for your banner (I used 5) and cut out this many flag shapes from card.
- Cut the same number of flag shapes from decorative paper. An easy way to get them the right size is to cut them out to the same size as the card pieces and then trim a bit off the top and each side until they are slightly smaller than the card. Do not trim anything off the pointed edges.
- Cut out your shapes and letters from co-ordinating card.
- Stick the paper flag shapes on to the card flags.
- Stick the letters and shapes on to the paper.
- Punch a hole at each end along the top edge on each flag.
- Thread ribbon through the holes to join the flags.
- Tie a loop in each end of the ribbon.
- Ta Dah! You have a homemade banner.
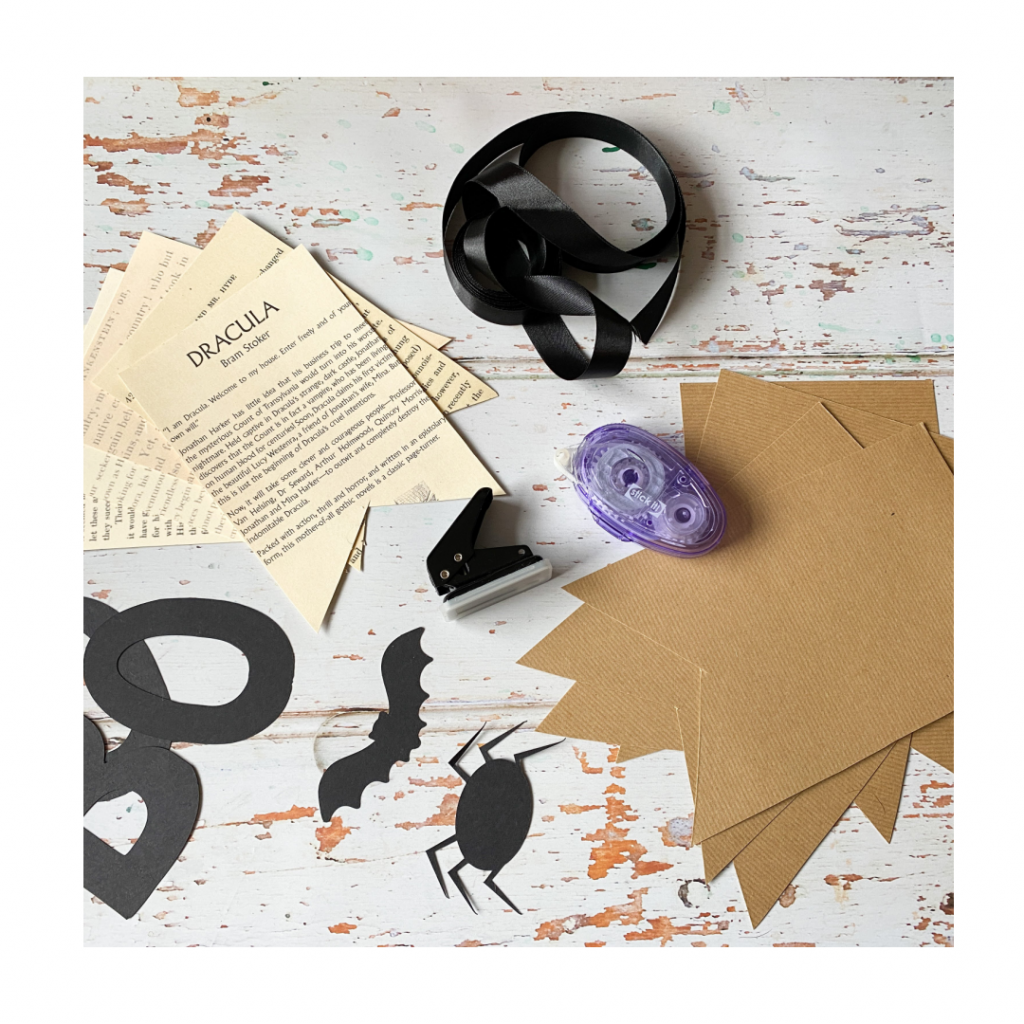
gather supplies 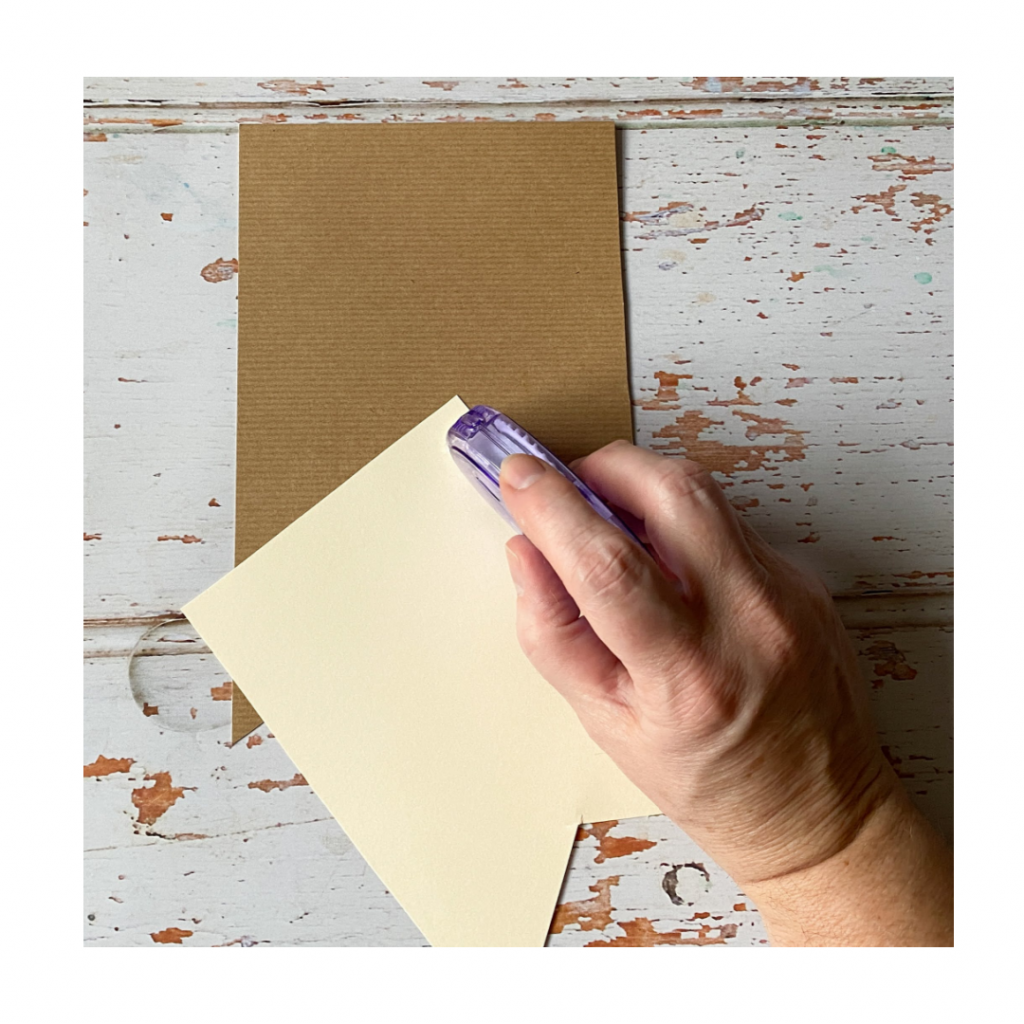
let’s go 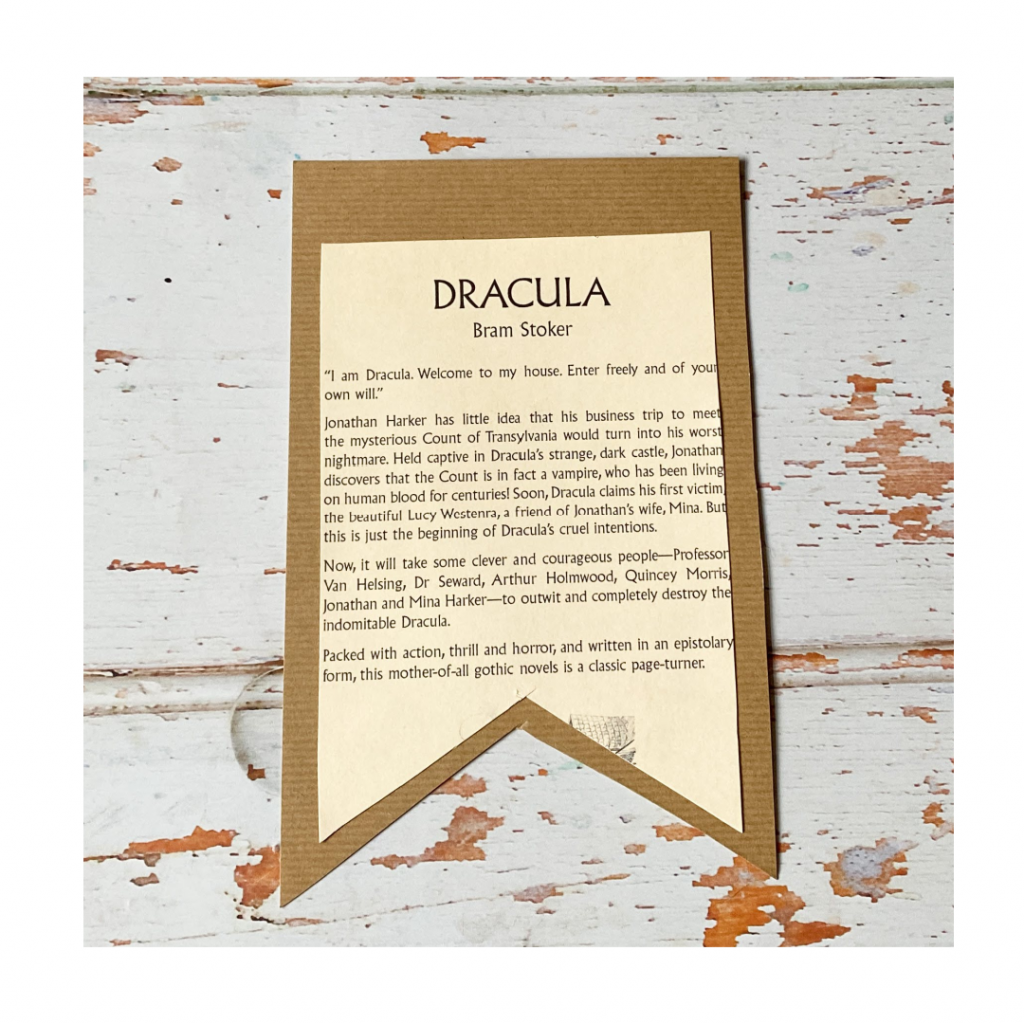
stick the paper to the card 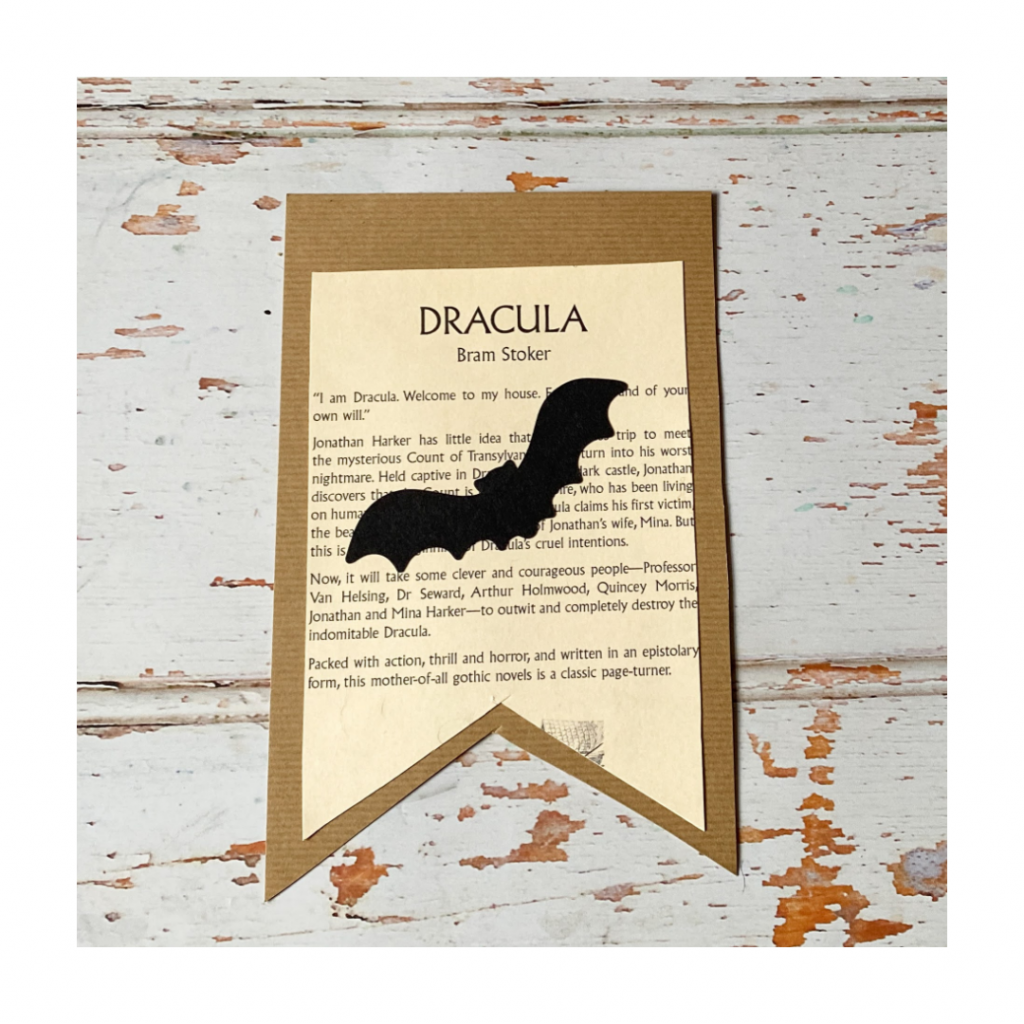
stick the shapes/letters on 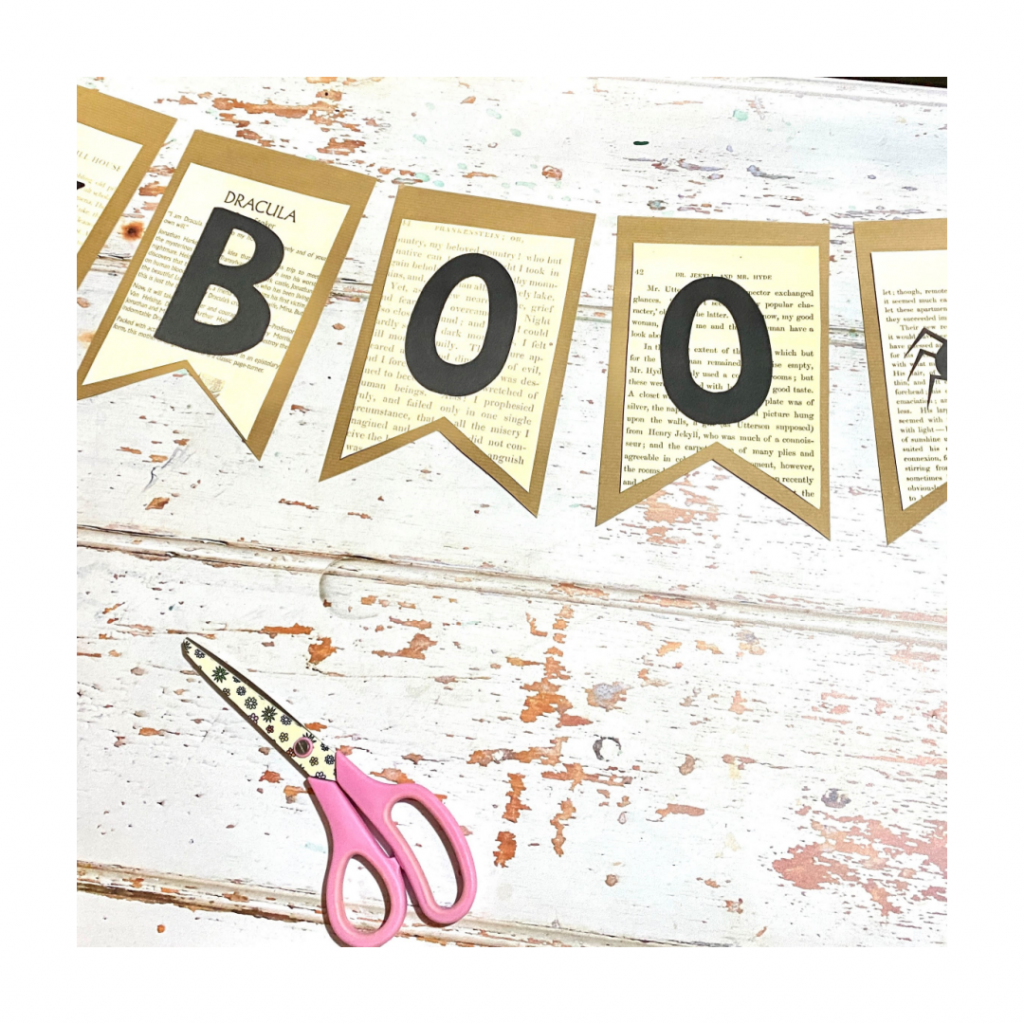
repeat for each flag 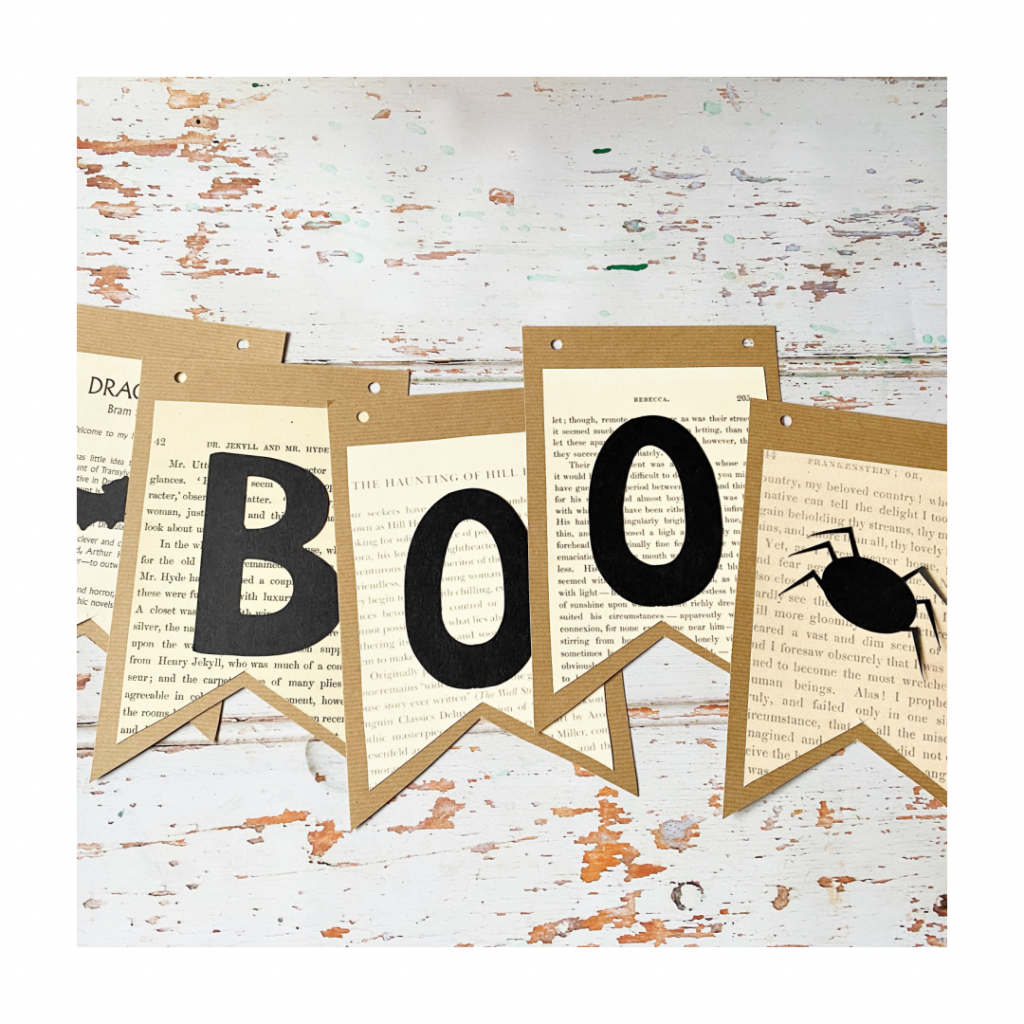
punch holes along top 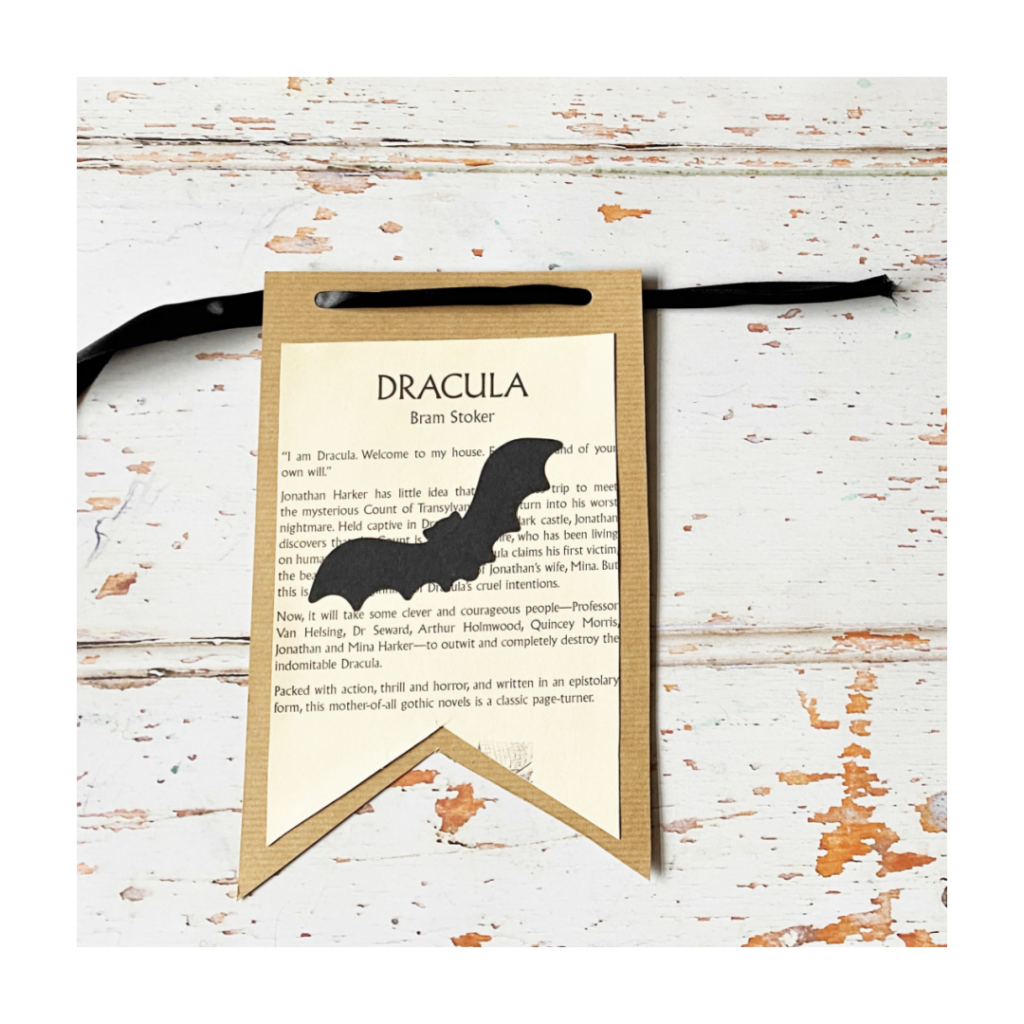
thread your ribbon 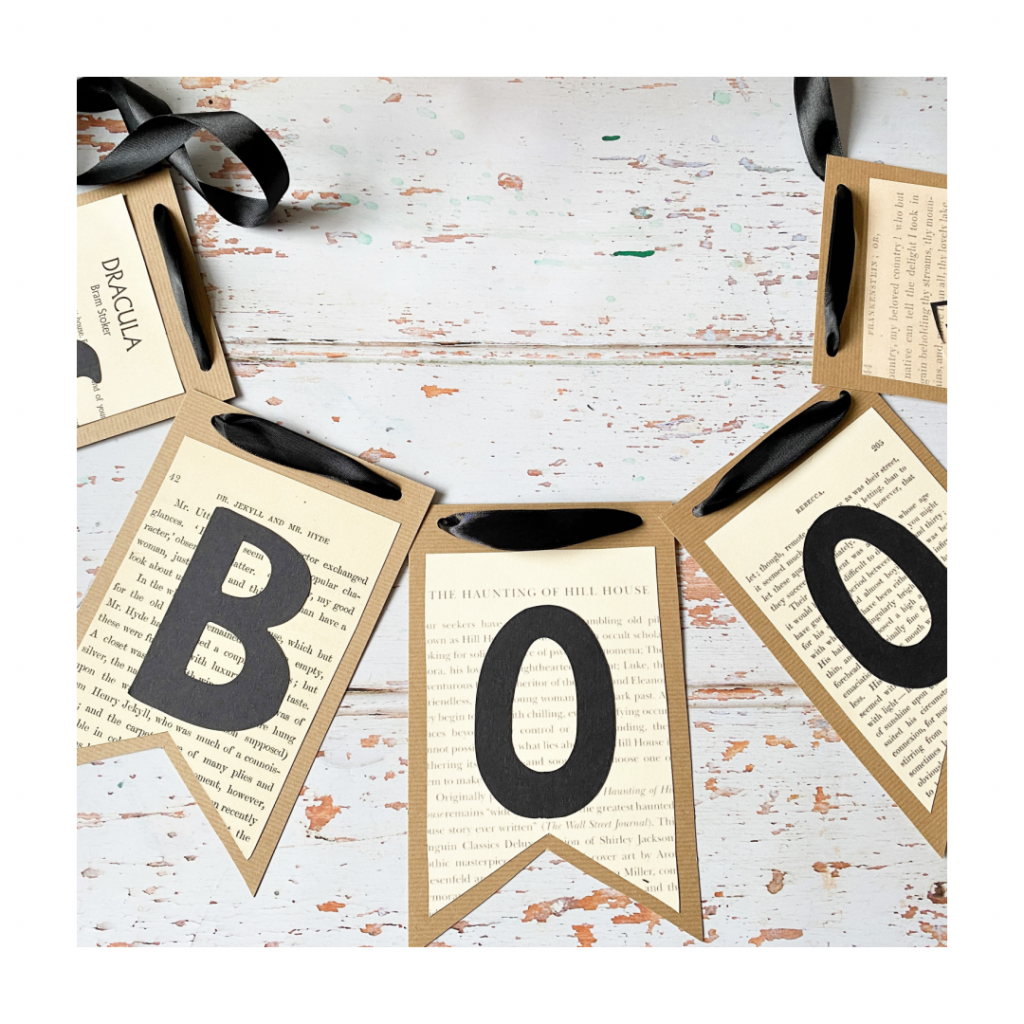
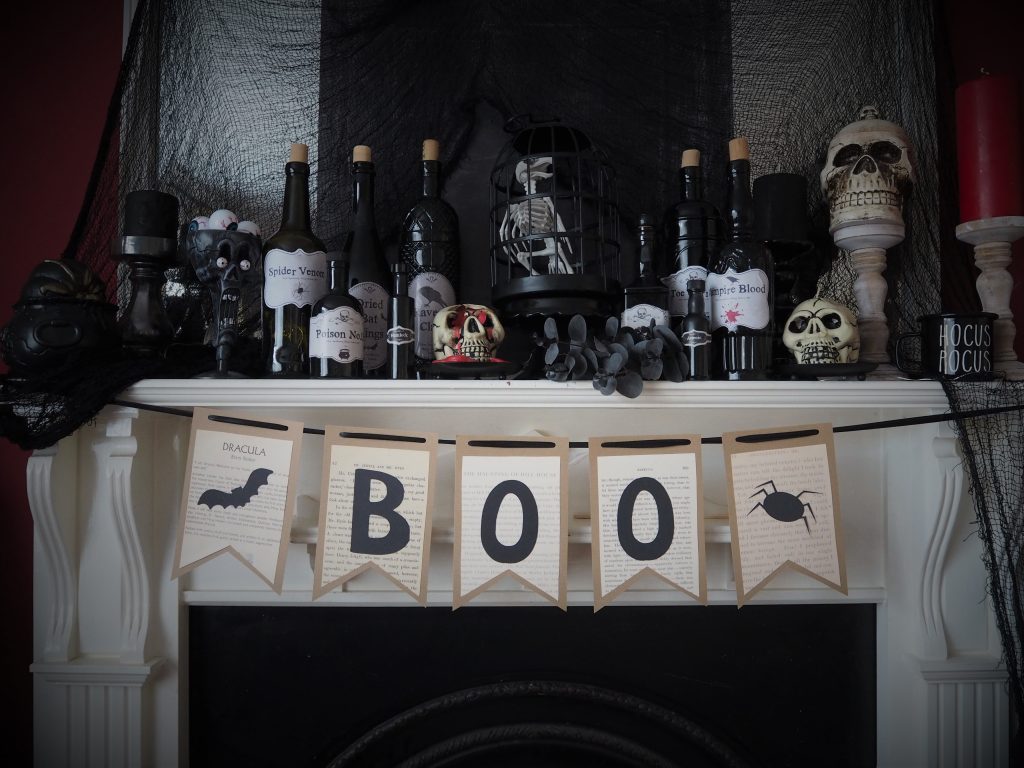
your finished halloween banner
We haven’t decorated for Halloween since the kids were younger but decided to go all in this year. I’ve been making props all week and if something sat still long enough it probably ended up sprayed black. As well as the banner I’ve made Halloween themed apothecary bottles from old blue bottles that had been on top of a cupboard for years and some wine bottles from our recycling box.
Here’s a before and after.
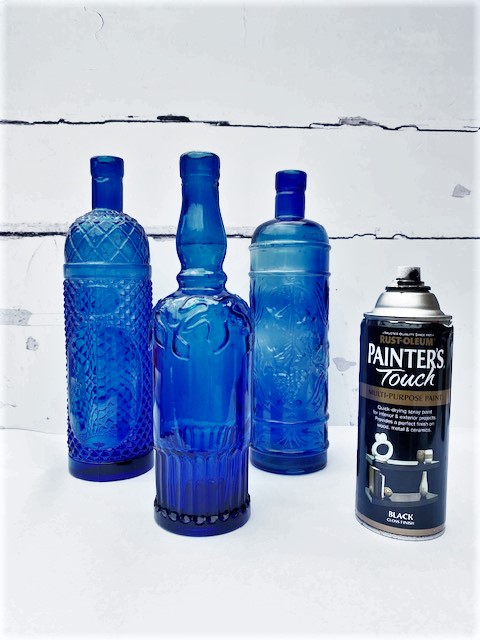
before 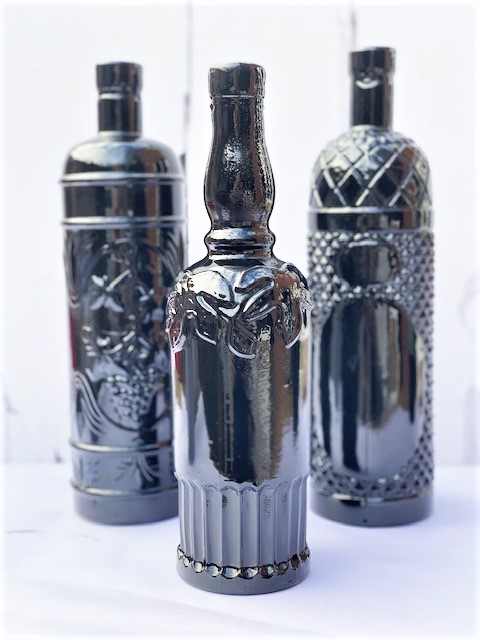
after 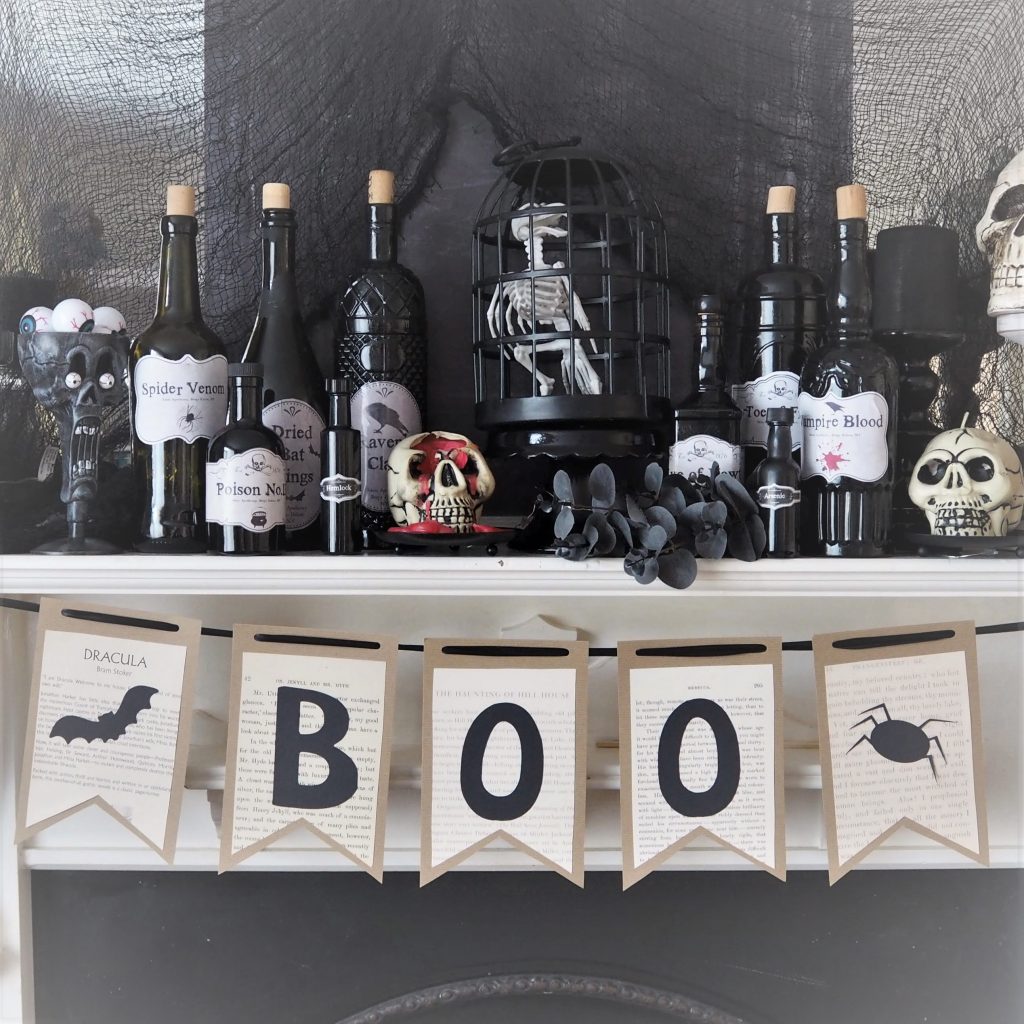
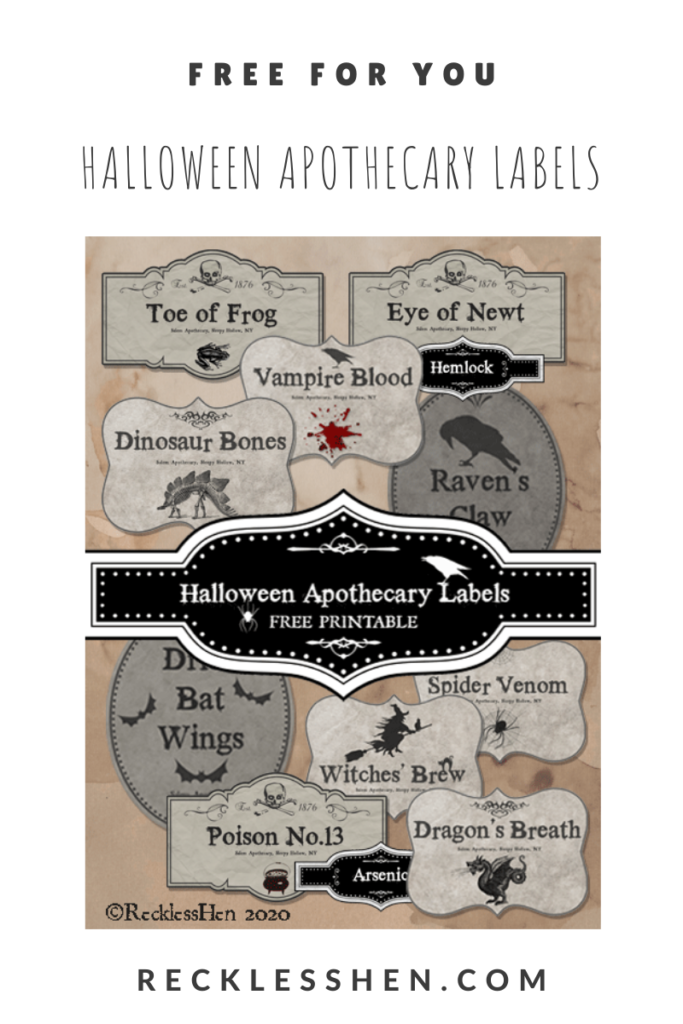
Halloween apothecary bottles
It was so easy to create the labels in PicMonkey and you can download them below if you would like to use them for your own Halloween decorating.
My hobbycraft tree came in handy as a Halloween tree decorated with cut out spiders and bats. I also made some spooky Halloween baubles from photo baubles and images printed on acetate sheets. Once the images are printed and popped in the bauble they look like they are floating inside. It worked so well with the spider one I gave myself a fright!
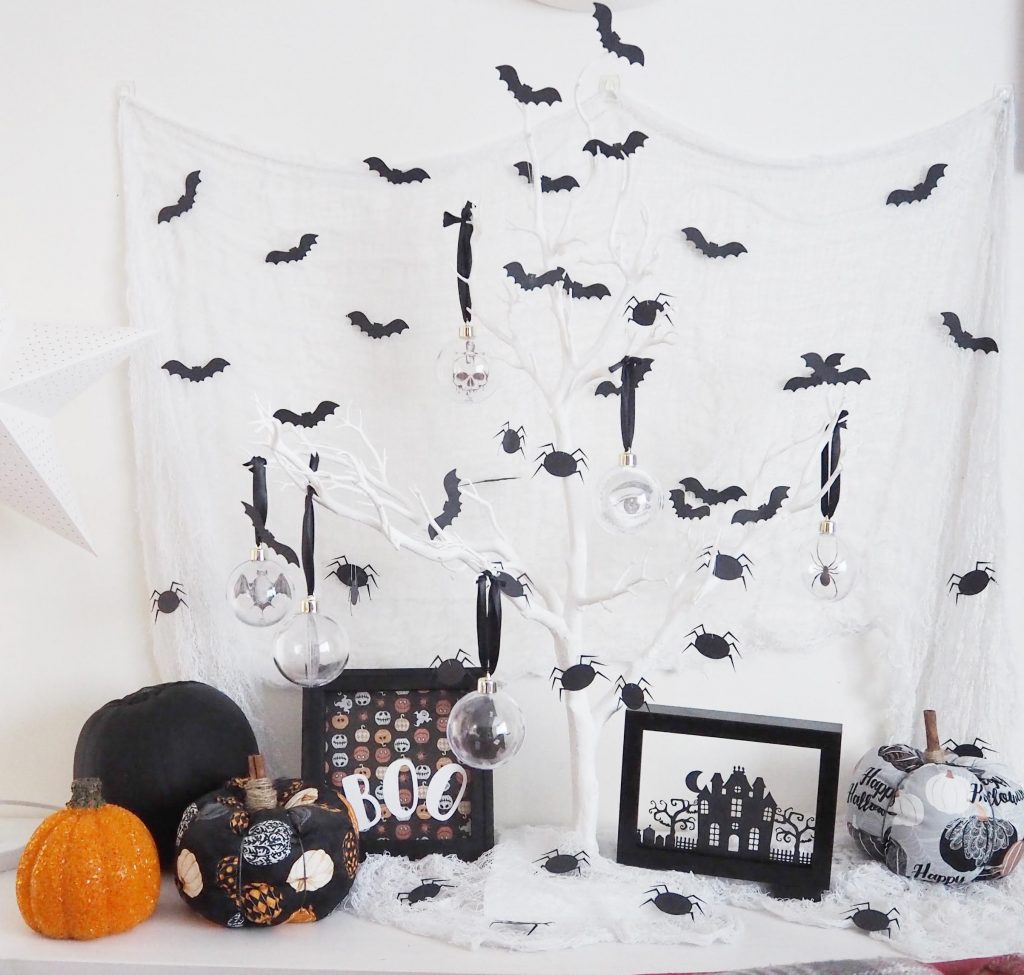
Halloween tree 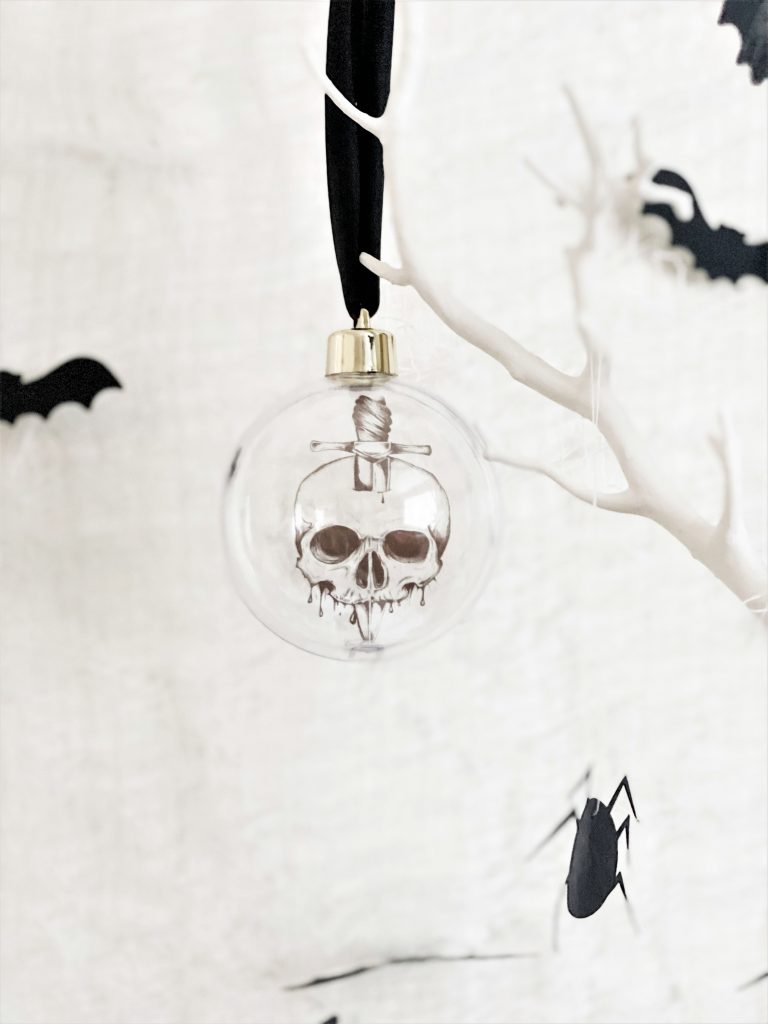
skull bauble 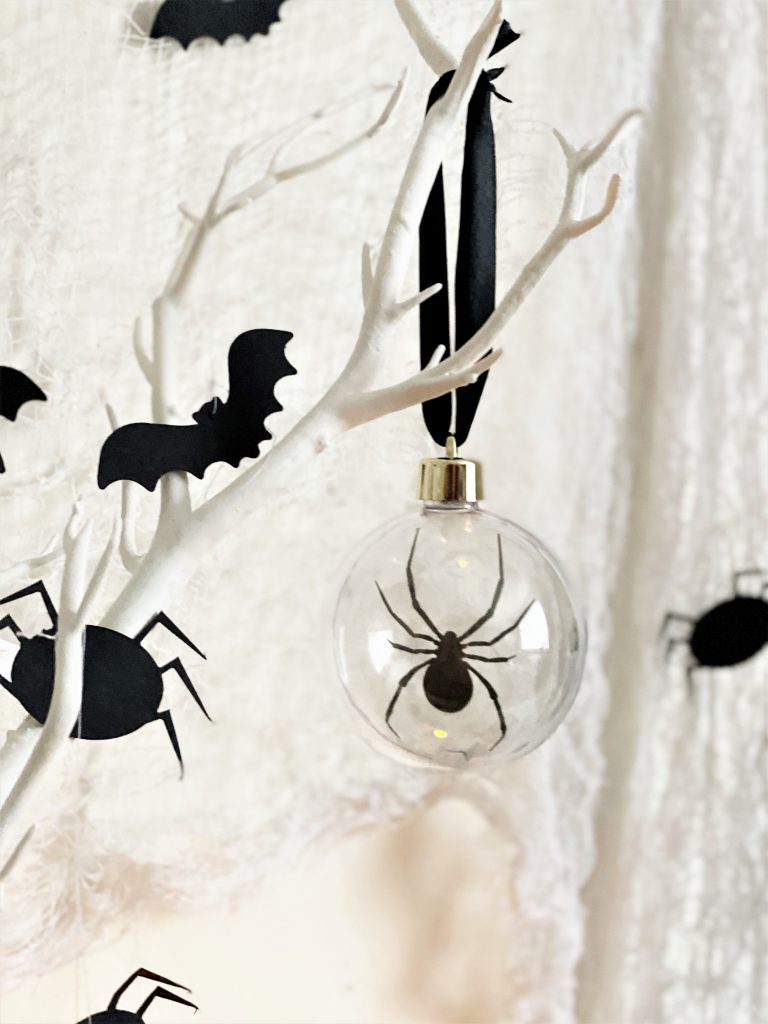
spider bauble 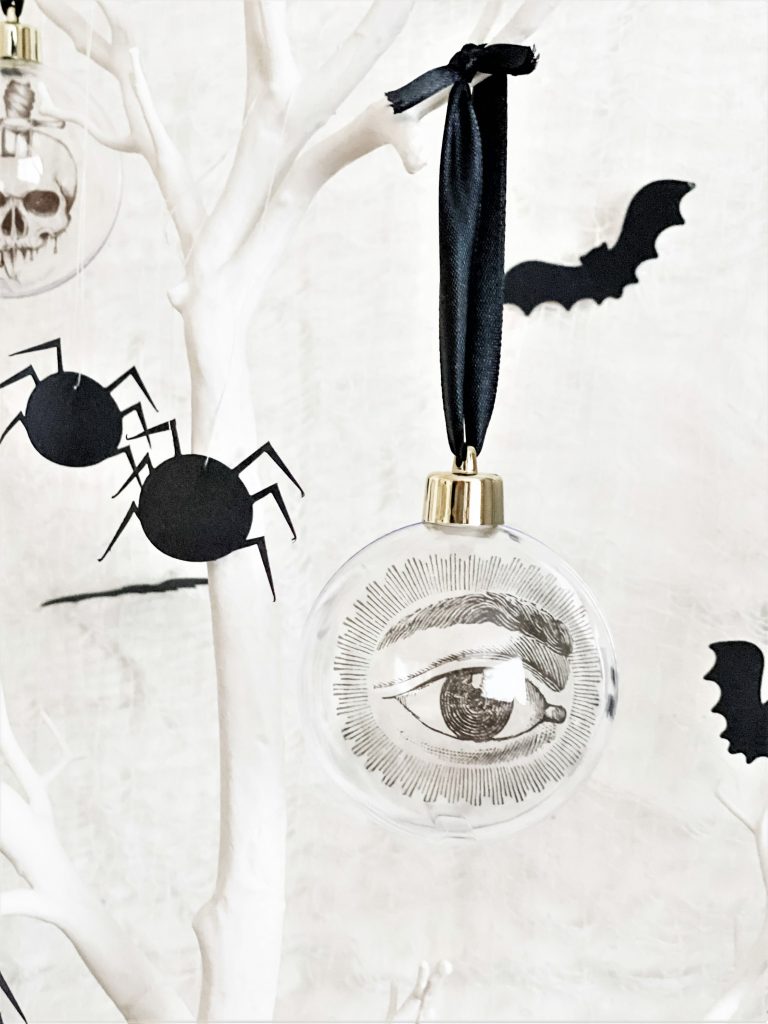
all seeing eye bauble 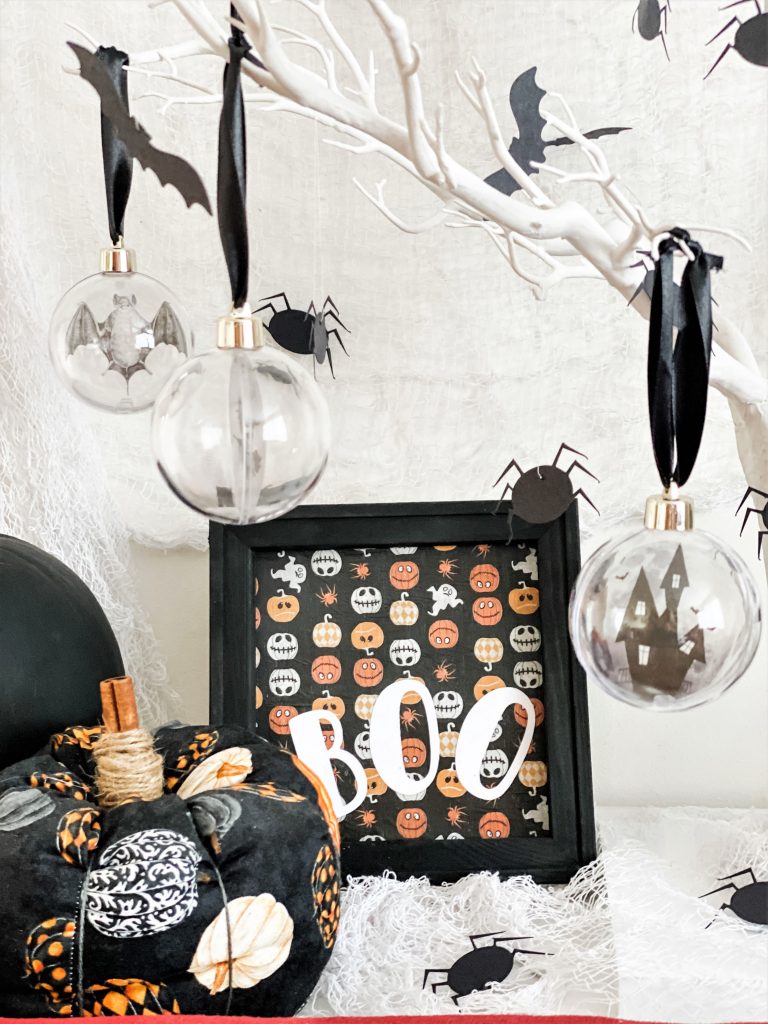
boo sign 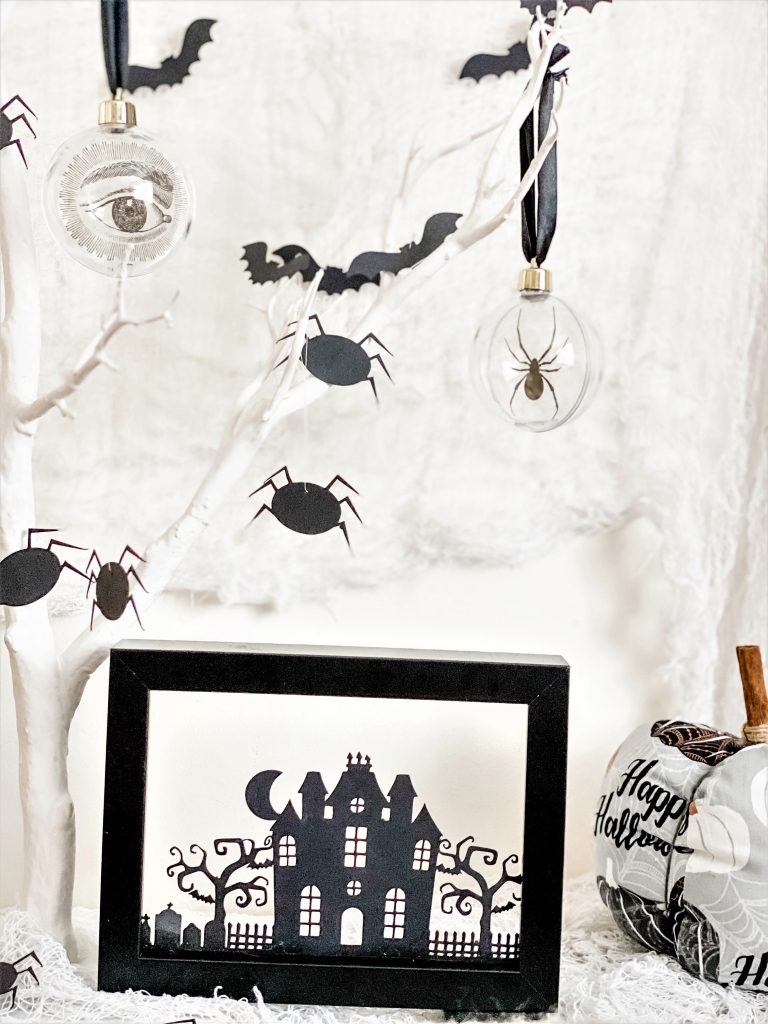
haunted house cut out
Aren’t the little Boo sign and the haunted house cut out so cute! The Boo sign is just a square frame with pumpkin print tissue paper stuck on as the background and BOO cut from white card and stuck on top. I cut the haunted house from black card using a file from the Silhouette store. All I did with it was remove the glass and the back from an Ikea frame and glue the card to the bottom edge of the frame. A battery powered tealight set behind it gives a spooky glow at night.
Don’t forget the freebie!
If you would like to use my spooky Halloween apothecary labels you can download them below. (They are for Personal Use Only)
Halloween Apothecary Labels sheet 1
Halloween Apothecary Labels sheet 2
Don’t forget to pin the photo below so you can find the labels to print them again and feel free to share with your friends.
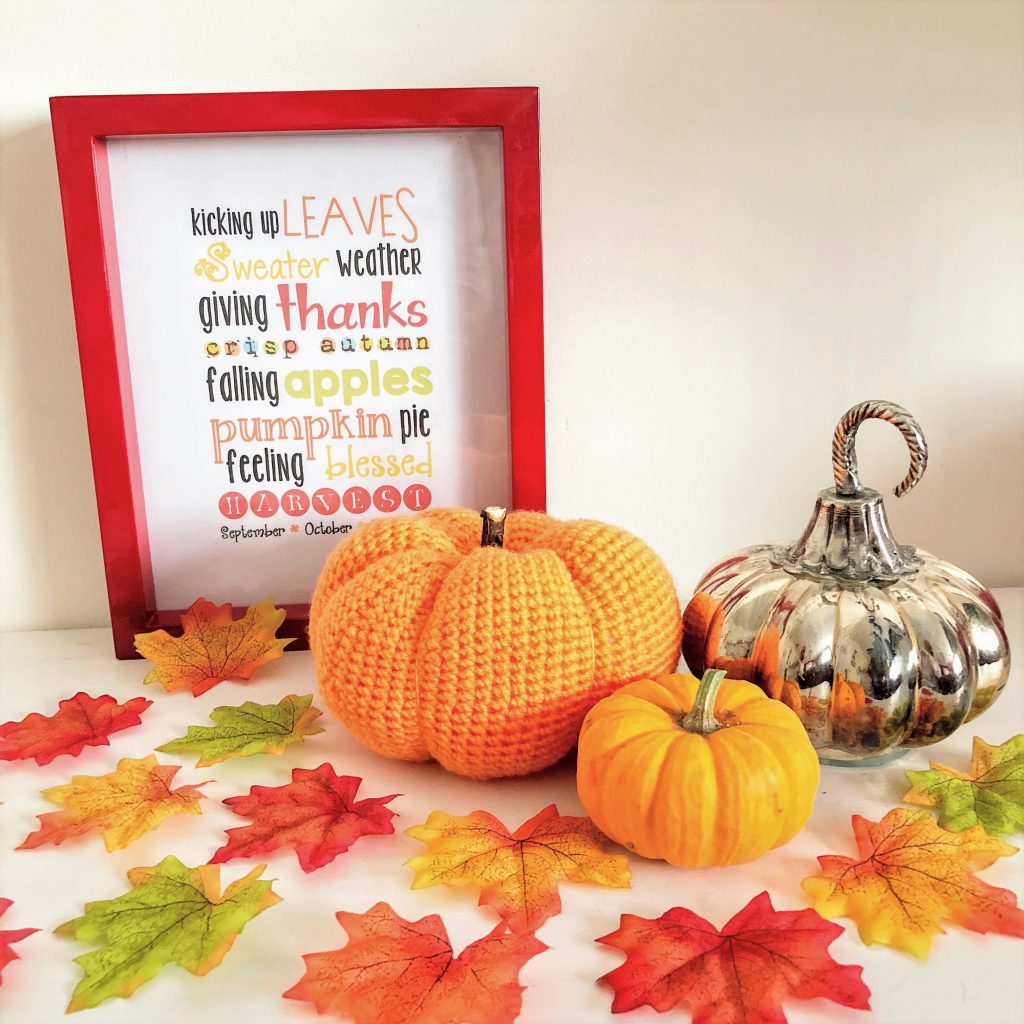
For some more seasonal makes why not click on the photo below and follow the pattern to crochet an Autumn pumpkin.
If you enjoy the freebies and tutorials at RecklessHen remember to follow the blog and social media channels to keep up to date with what’s new.
You can Pin this post to share with others and spread the Halloween spookiness.
Happy Haunting!