
Hands up if you love DIY planner accessories!
I love my planner. I make my own DIY planner accessories all the time.
Do you make your own DIY planner accessories?
For the last few years I’ve used the Erin Condren system but this year I’m trying out the Happy Planner. I love that I can create my own stickers, dashboards, inserts etc. and make them personal to me. I have Silhouette Cameo and Cricut cutting machines and they make creating my own planner accessories so easy.
Make your own planner accessories to add a personal touch.
Today I’ve been having fun playing with the latest Goodie Bag from Weeds & Wildflowers Supply Co. If you are a digital scrapbooker you will remember Weeds & Wildflowers and all their gorgeous kits.
Weeds & Wildflowers has just returned from a bit of a break with a whole new range of goodies. As a W&W Creative Team member I’m excited to see what gorgeous new designs Gina has planned. I am lucky to get to experiment with the kits and see what I can come up with to inspire you.
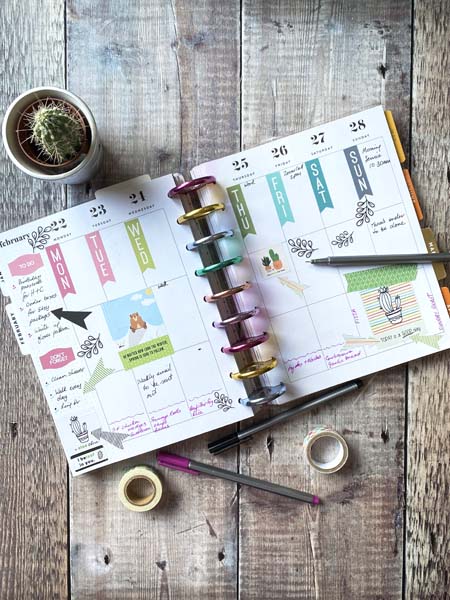
The cute cactus graphics in Goodie Bag 1 I are just perfect for creating some planner accessories. There are lots of papers and elements to choose from and they are all adorable. I’ve used the stickers in my weekly layout to add some colour and fun. Using the print and cut feature on my Cricut made creating my stickers so easy. I’ll be making a menu/shopping list dashboard to match as that’s one of my favourite planner accessories.


I also jazzed up a notebook I’ve had lying in a drawer for a while. I wanted a pocket sized book with tabbed sections that I can carry with me everywhere. There is no point trying to kid myself that I’ll remember things, I just need to write them down!
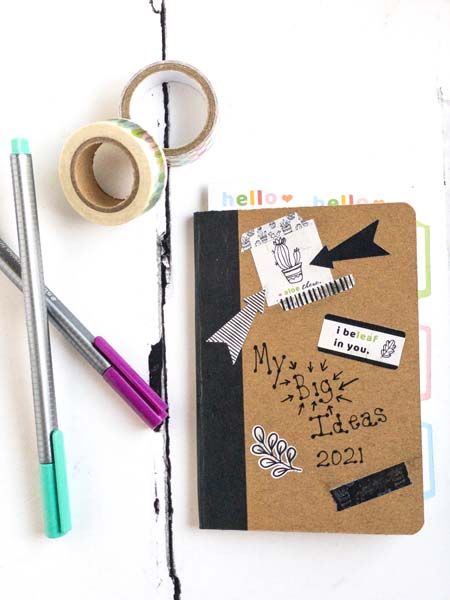
This little A6 notebook has been waiting for me to get round to decorating it for ages. I added some stickers to the front and on some inside pages and I doodled a title.
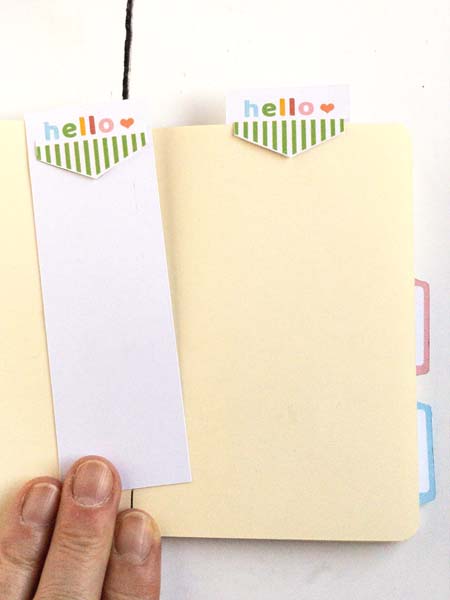
DIY some pretty page markers
Next, I used my Cricut’s print and cut feature and some Goodie Bag elements to make dividers. I attached these to the pages with double sided tape. I also created two page markers that I can pop on a page to mark my place.
But I didn’t just finish there!
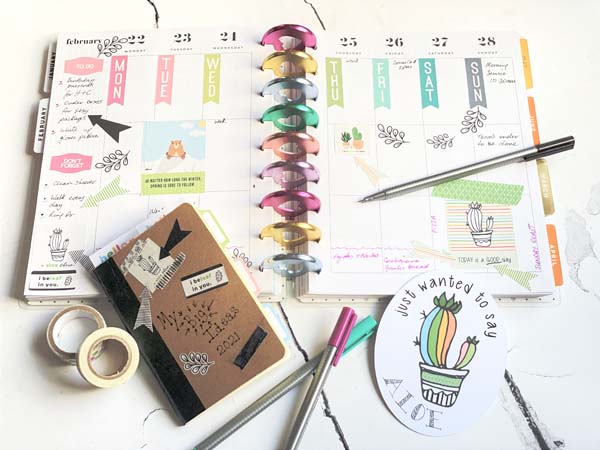
In Photoshop I coloured one of the cacti images to put on a postcard. I’m going to pop this in with some gifts I’m making for friends for Easter. I added a funny greeting then saved it and went in to Cricut Design Space. In DS I drew an oval, added my design and did a print and cut using thick 300gsm card. I love the finished card. I think it will make everyone smile and that’s just what we all need right now.
Head over to Weeds & Wildflowers Supply Co to pick up your Goodie Bag. Check out all the other great things in the shop while you’re there.

Grab a Cricut Design Space print and cut project.
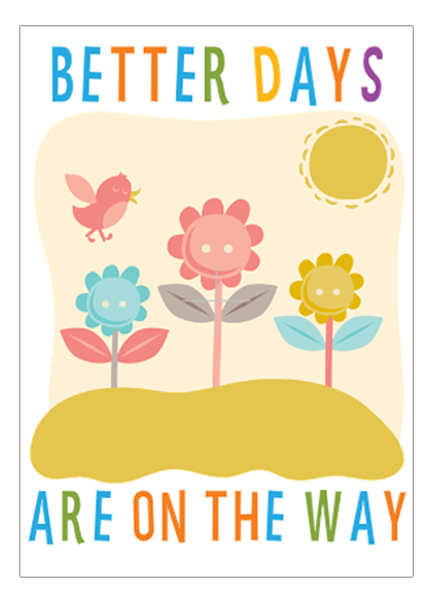
Since life is a bit blah right now I thought I’d make a sweet little project to share with you. It’s a quick Cricut project for a little notecard that you can pop inside your planner. It was so easy to make using some of the images and fonts inculded in my Cricut Access subscription. I love having little encouragement and gratitude postcards popped in to my planner don’t you? You could even send it to a friend to brighten their day.
If you’re a Cricut user just click on the image below to link to the project in Design Space. It will be free if you have a Cricut Access subscription, if not there will probably be a small cost due to Cricut for the font and image.
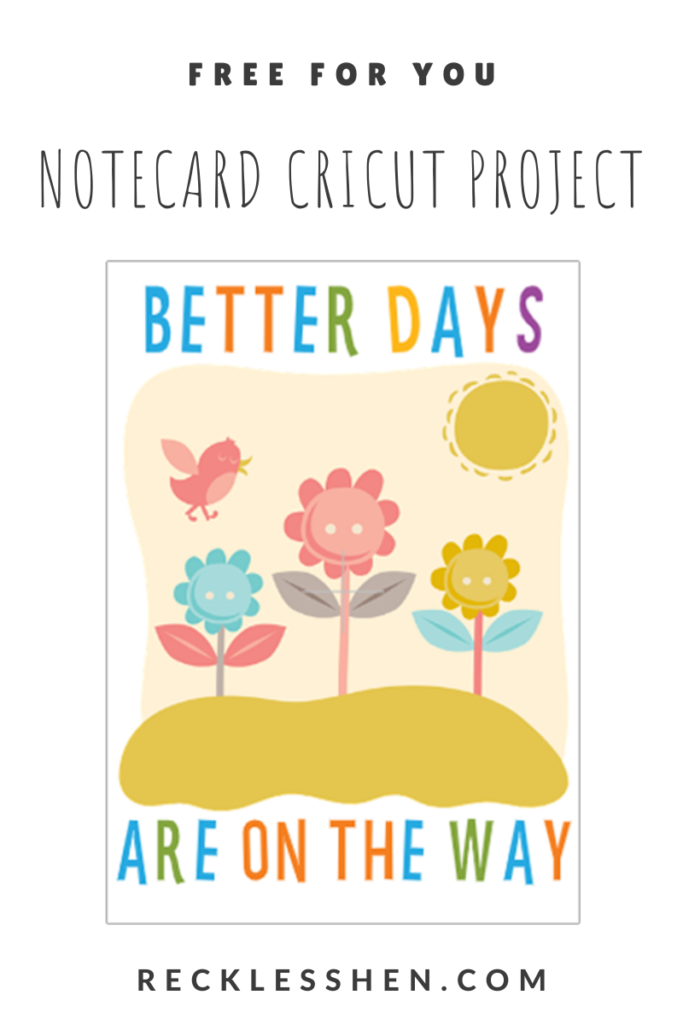
Don’t forget to Pin the image below so you can easily find it again. That way you can make more notecards whenever you want.
Remember to follow RecklessHen to be kept up to date with new posts.
Check out these other Spring projects while you’re here.
Happy planning x